Friday, December 10, 2010

Baked Donuts, a Delight for the Holiday Season

There are two "traditional" Hanukkah foods: latkes (fried potato pancakes) and sufganyot, (donuts, fried dough balls).  This doesn't really add up to the healthiest food choices.  For our Hanukkah party last weekend I knew I couldn't skimp out on traditionally made latkes, but donuts...  that I could tweak.  

I scoured the Internet for baked donuts, with ingredients that I had on hand and I lucked out with a recipe from Piece of Cake.  This rules out any recipe that calls for buttermilk powder, shortening, etc.  Which means, you probably have these ingredients too, and because they are baked and not fried you might want to enjoy this less guilty treat after Hanukkah, or Christmas morning.

Baked Donuts Ingredients
For the dough:
1/2 cup + 3 tbsp warm milk, 95 to 105 degrees
1 1/8 teaspoons active dry yeast
1 tbsp melted unsalted butter
1/3 cup sugar
1 egg
2 1/2 cups all purpose flour
1/8 teaspoon nutmeg
1/2 teaspoon kosher salt

Topping:
3 tbsps of unsalted butter
1/3 white sugar
1 tbsp cinnamon

So here is the thing, this recipe can look pretty intimidating.  It has yeast, it has a specific measurement for milk, yikes.  But here is the truth.  I made this recipe without a rolling pin, while preparing and serving a Hanukkah meal for 8 and with three adorable kids running around, in other words - these pictures, not so hot - but the donuts, out of this world.

Pour the yeast in the base of your Kitchenaid Mixer, or a large bowl, and then add 3 tbsps of the warm milk.  I used a thermometer to get this just right, and its important - in this case baking is more like delicious chemistry, than playtime.


While the warm milk and the yeast are dancing and expanding and doing their magic, you are melting some butter and combining it with the rest of the milk and the sugar.  Allow the yeast and milk to get to know each other for about five minutes, no less but, more is okay.  Then add the butter/sugar/milk combination to the mixer.

Now, in a separate bowl, combine the flour, salt and nutmeg and slowly pour the dry ingredients into the mixer all while mixing with the paddle on a low speed (I used 2).  Add one egg and let that continue to incorporate.  When the flour is fully mixed in, should take 3 minutes or so, remove the paddle mixer and attach the dough hook.


Let that hook do its work for a few minutes and pull the dough from the bowl and put some of your own muscle into it.  Sprinkle some flour on your workspace and knead the dough into a soft, smooth ball.  Place the ball into an oiled bowl and wrap the bowl with plastic and tuck it away into a warm space for at least an hour.

I did this at 11am, when family arrived at noon.  After about an hour roll the dough out to about 1/2" thick and cut your donuts.  You do NOT need fancy tools.  I used a juice glass for the big rounds and a shot glass for the holes.  Once the donuts are all cut, cover with a clean kitchen towel and tuck the pan away for another 45 minutes.

After 45 minutes your donuts are soft, puffy and are ready to bake place them in a 375 degree oven for 8 - 10 minutes.  They should have a very soft golden glow, mine were very soft gold, but that just added to their super soft chewiness.


While the donuts are baking, melt three tablespoons of butter.  When fully baked dip each donut (top and bottom) into the butter mixture and then into the sugar and cinnamon mixture.


Yes, your fingers will get messy, and yes you will have used a lot of utensils and bowls, but you know what will also happen?  The twelve awesome donuts that you made will disappear, and your niece will return again and again to the table seeking out one more bite.  I think they even beat Dunkin'.

Thursday, December 9, 2010

Brussel Sprout Magic

Dear Dad,

I wish you weren't so turned off by brussels sprouts, they're really pretty good.  In fact, they are better than pretty good, they're really good.  All those years of turning your nose up at them at Thanksgiving when Cousin Karen would bring them seems silly now.   In fact, I like them sauteed with bacon or even served up with Greek yogurt at DC favorite Zaytinya. 

But, dad, they are also good simply roasted.  Here, let me show you.

Love, Carly

True story friends, up until a few years ago I had never tried a brussels sprout.  If you were like me, or my sister up until this past weekend, it is time for a change.  I love this as an easy, low maintenance side dish that requires no effort after prep time.  We served it with out Hanukkah party, but its a mainstay throughout winter when they are in season.

Roasted (Parmigiana - or not) Brussels Sprouts
A bag of brussels sprouts (the quantity depends on how many you're feeding
A drizzle of olive oil
A sprinkle of salt and pepper
A shaving of parmigiana, optional
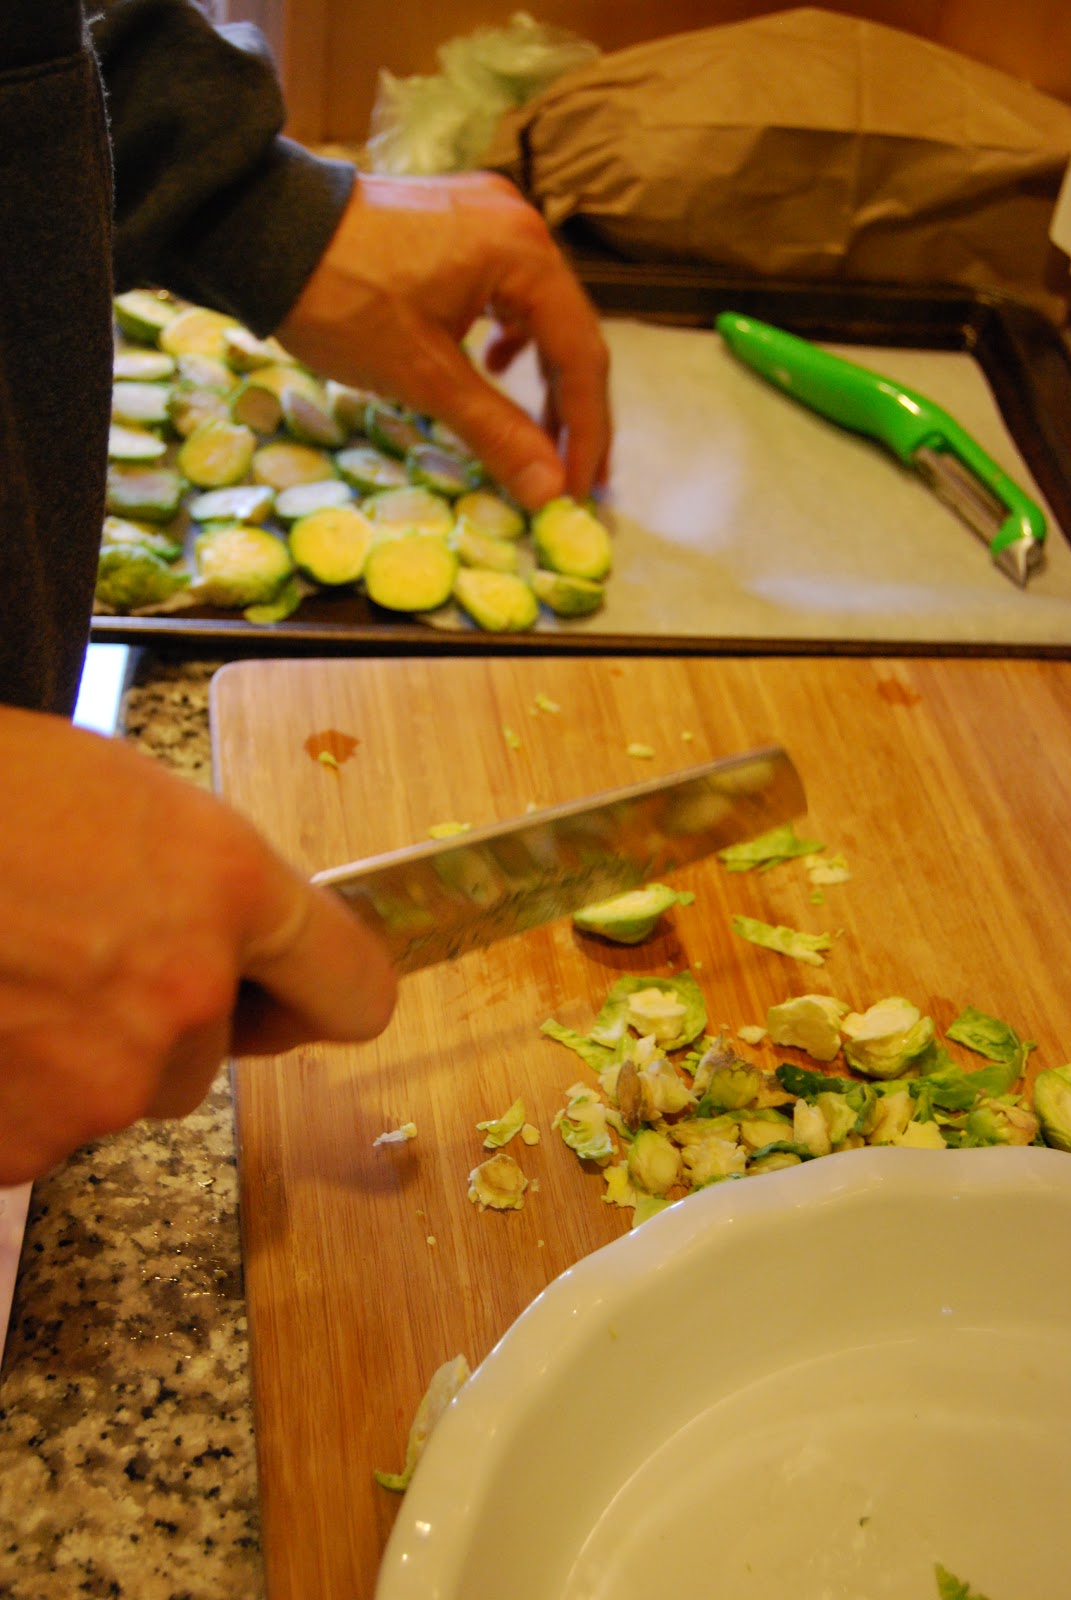
 First things first, rinse off all of those little mini lettuce heads.  TO be fair, they just look like heads of lettuce, the flavor is far more rich and intense.  Now its time to prune the sprout, or head, or whatever, it's time to peel leaves off of the green ball in your hand...


You might notice that there are some weird/yucky/unappetizing black blemishes or dots on the outside leaves.  Fear not!  You are just going to rub back the leaf and then rip it off.  Each sprout will shrink in size a bit, but it's okay.  It will be pretty again soon.


Ta Da!


Then you're going to cut the brussels sprouts into thirds.  Insider secret, if after peeling off ugly leaves there is a bit of a white "stem" you can cut that off too.


With all of your sprouts laid out on a piece of parchment paper on a cookie sheet, give them a gentle drizzle of olive oil and a sprinkle of salt and pepper.  Bake in oven at 350 degrees for 40 minutes.  Check after 30, I like mine a little browner, if you're wanting gold then 30 minutes should be just right.

Here is some extra flavor magic: sprinkle on fresh grated parmigiana, or some truffle salt, or perhaps both.  Delicious!

Wednesday, December 8, 2010

Basic Brisket, and so good!

When you want an authentically Jewish brisket recipe, (not barbecue brisket, or pulled brisket, just you the familiar brisket found on Hanukkah, Passover, and Rosh Hashanah tables),  you'll probably need to call a mom, or grandma or aunt.  If you want a different variation, visit Food and Wine.

Anyway, so I found myself in Whole Foods standing in the meat refrigerator looking at some huge pieces of meat.  That is step 1 to making a brisket, the meat is huge.  Understanding that, getting over it, and knowing that it will shrink to half it's original size is critical.

I called my cousin Amy first - she gave a list of her ingredients.  Then I called my mom, and she gave a similiar list of her ingredients.  When it came time to go, I just did everything.

 Jewish Style Brisket Ingredients, serve 8-10
3.5 - 4 lb brisket
1 onion
4 carrots, chopped
4 stalks of celery, chopped
1 packet of Lipton Onion Soup starter (crazy, I know)
1/2 can of San Marzano Pureed Tomato
1/2 cup of Apple Cider Vinegar
1/2 cup of red wine
2 tbsp of Ketchup
1 tbsp brown sugar
1/2 tbsp of butter
Salt and Pepper
Cooks for at least 3-4 hours, at 325 degrees.

In a very large non-stick pan on medium-low heat melt some butter and add the chopped onion.  Let the onion simmer and add a sprinkle of salt.  When the onion are closer to translucent than white add the brisket to the pan.


Let the brisket cook on both sides for 3 minutes.  You're not really cooking here, you're just browning.  Here's the warning, brisket has a strip of fat on one side, seeing it can be a little overwhelming and gross, keep moving, don't worry about.

After the brisket has browned on both sides place it in a large baking pan with the raw chopped vegetables and the cooked onions.   Make sure the fat part of the brisket is on the top.


In a medium bowl mix the ingredients, onion soup starter, tomato, wine, vinegar, ketchup and sugar. 


Then pour all over the brisket.  You may need to use some muscle to lift the brisket to get the sauce in every little spot.  Yep, just like that.  To be fair, I texted this image to my parents to get a virtual thumbs up.  You don't have to text my parents, you don't even have to text your parents.  This is what it should look like.


Find a roll of aluminum foil and start wrapping.  The pan needs to be completely covered and secured. Now, you can put it in the oven for 3 - 4 hours.  Walk away.  Try not to worry, definitely do not open the oven and play with the foil.   


After removing the brisket from the oven, keep it covered for an additional 30 minutes.  This will give you enough time to make a side dish or two, maybe Kasha, or potatoes?  We made kasha and bow-ties.  Seriously good.

When you unwrap the pan, you slice against the grain.  You can let it cool completely and remove the fat, or  you can go authentic, and keep the fat on.  It's a holiday, its going to be okay.  Enjoy the sauce, the carrots will be full of a sweet and tangy flavor and the meat will be very tender.


It's a holiday tradition, and one that is easy to be creative with.  I think when you make it for many years, like your aunt, grandma and mom, you'll tell someone else just add some of this and some of that.  But if you need a recipe, now you've got it!

Happy Hanukkah!

Tuesday, December 7, 2010

Holiday Shopping Wrap Up: The Daily Batch Gift Guide

For the past few weeks I have been featuring my favorite gift selections for nearly everyone on your list.  Did I miss someone?  I am still taking requests!  Anyway, I am really proud to have found multiple options at large range of price points that I would be truly proud to give and receive. 


I hope these gifts provide you with inspiration for your own list.

Happy Shopping!