Showing posts with label Italian. Show all posts

Tuesday, February 8, 2011

Grilled Eggplant Pesto Parmigiana

Sometimes I realize that the recipe featured here require a mixer, or an immersion blender, and for as much as I try to simplify recipes by using simple tools, it can become intimidating if your kitchen equipment is pieced together with hand-me-downs and college left overs.

This recipe requires not much more than George Foreman grill, the staple of every college "registry", and it looks and tastes a bit more sophisticated than college.

Grilled Eggplant Pesto Parmigiana
Ingredients
1 large Italian eggplant
Pesto Sauce (either premade, or homemade - do it!  It is soo easy)
Grated Parmigiana cheese
Marinara sauce
Salt and Pepper

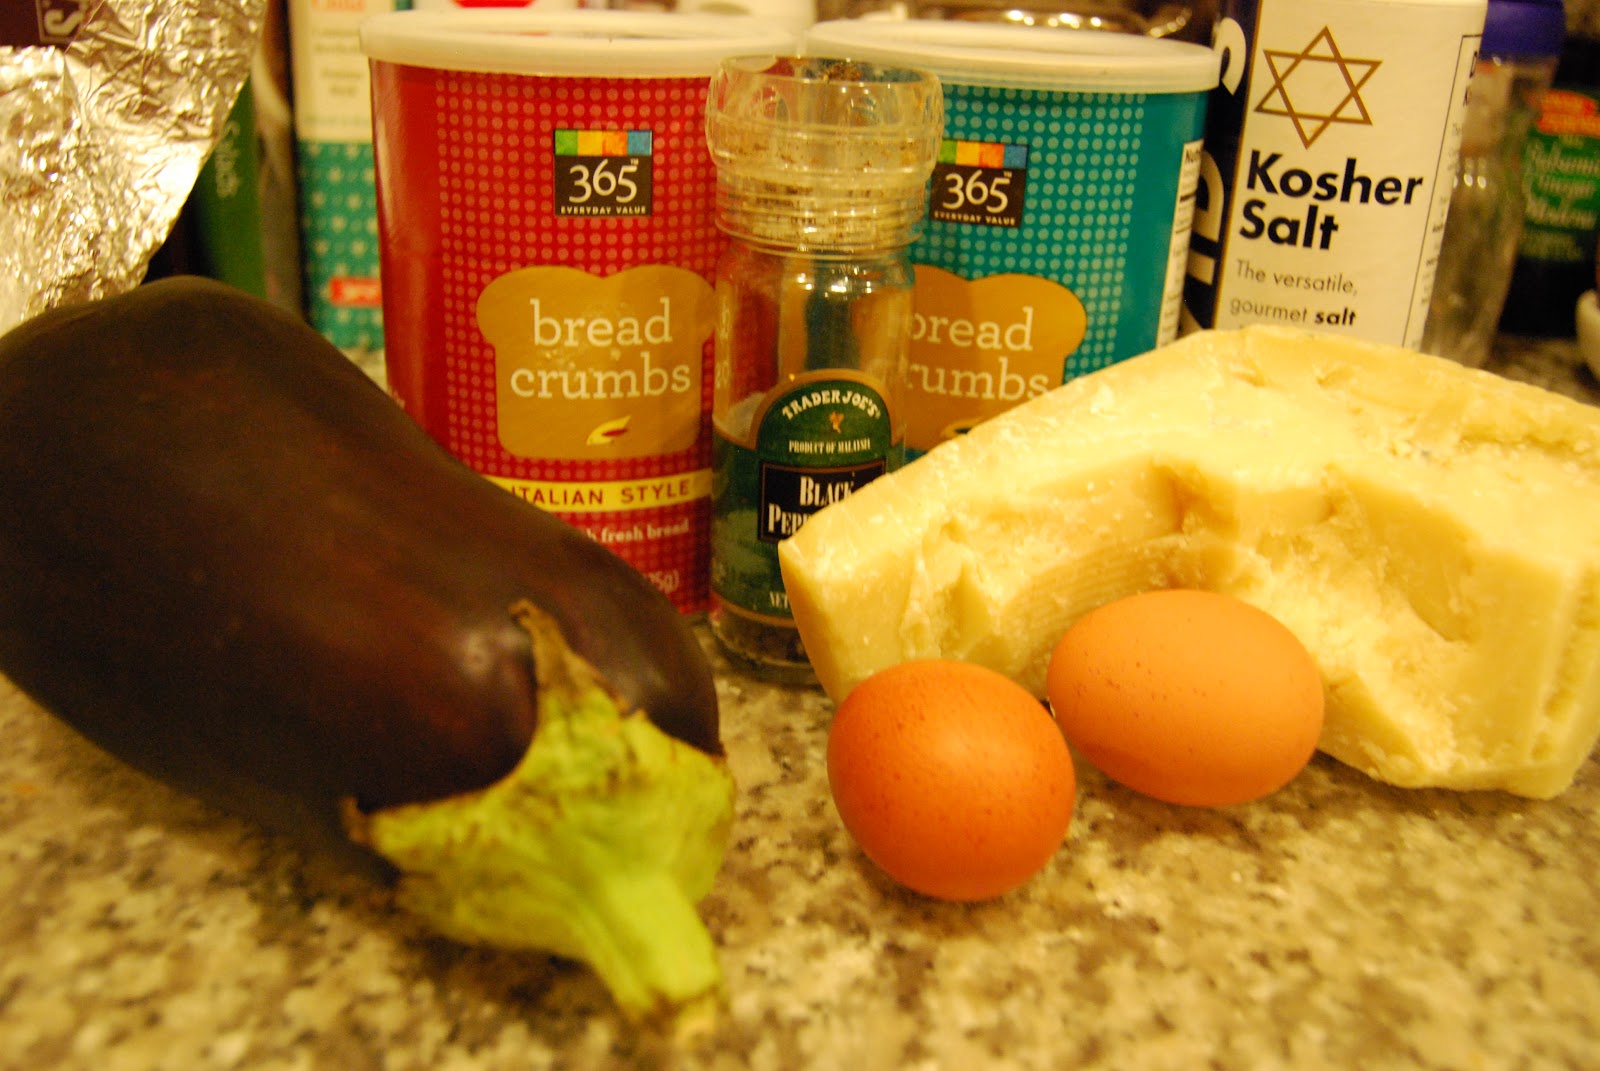
Preheat oven to 400 degrees.  On a cutting board slice the eggplant into 1/2" coins.  Sprinkle generously with Kosher salt.  Salting the eggplant adds flavor and it also helps the eggplant to "sweat" out some of it's moisture.


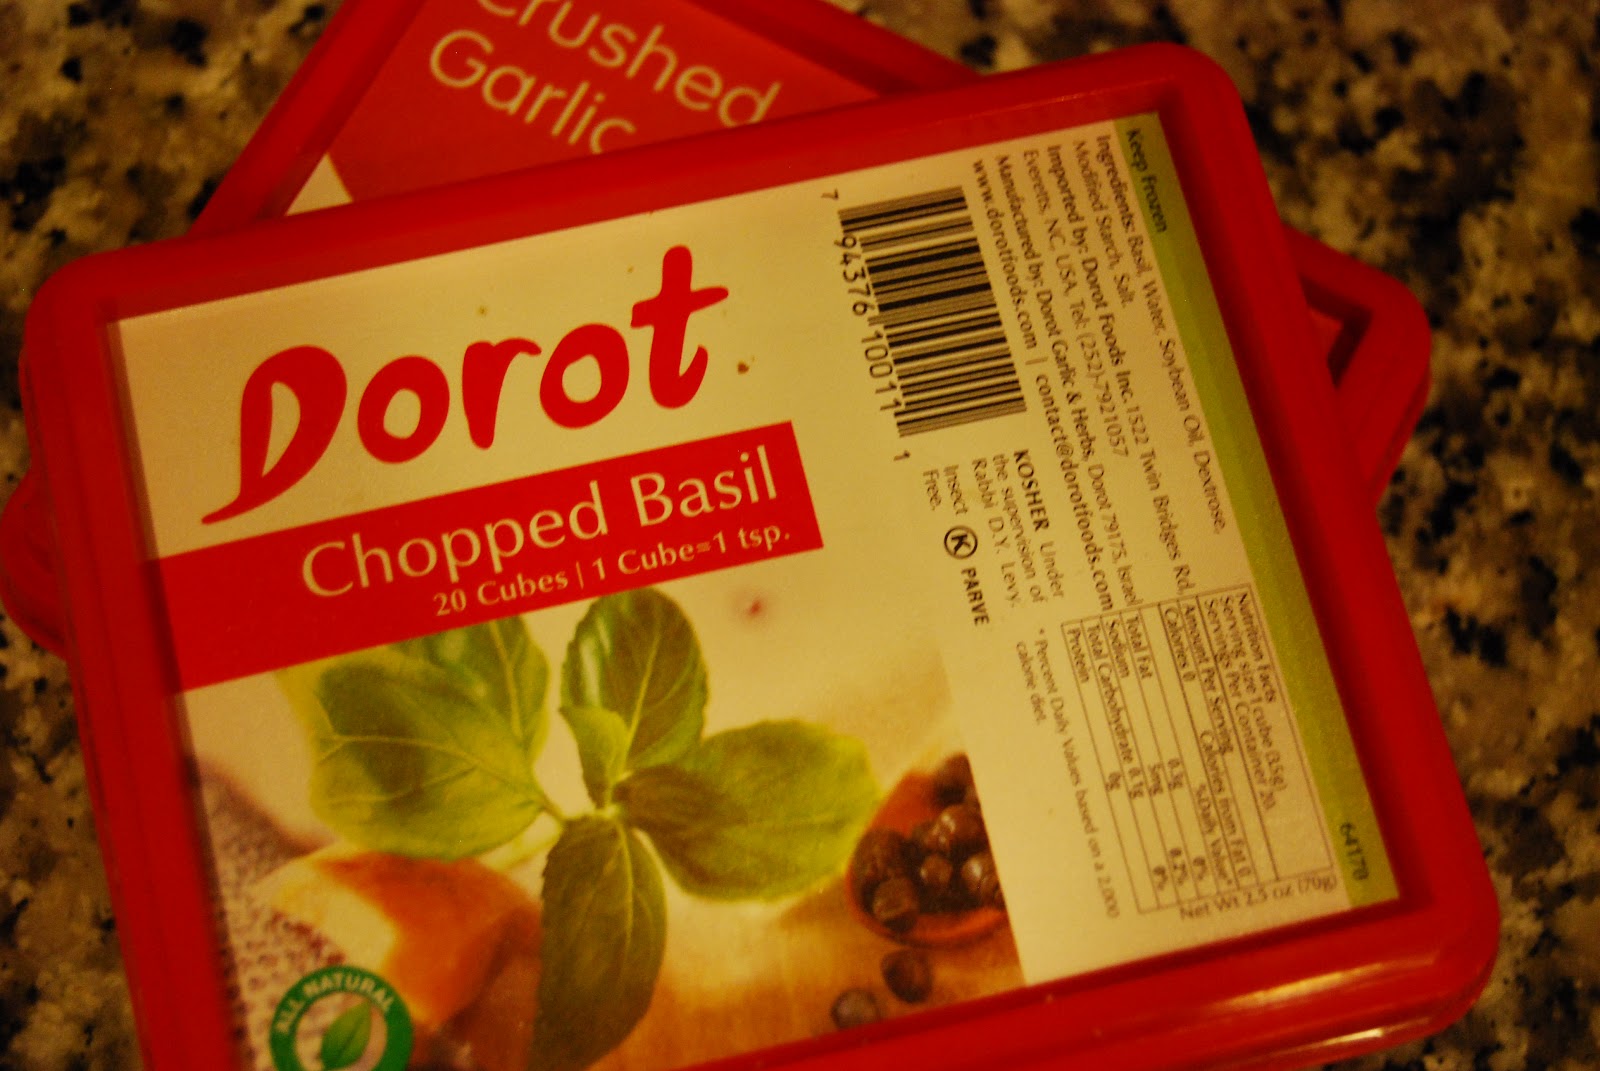
In a small bowl prepare the pesto sauce, come on, I know you went homemade.  Another even lower calorie option that is strong on flavor is crushed basil, garlic and olive oil - I recommend the frozen basil and garlic cubes at Trader Joe's.


Lay the eggplant coins out on the grill and cook for 3-4 minutes or until golden brown grill marks appear and then rotate for a beautiful cross pattern.   

Lay all of the grilled eggplant slices on a cookie sheet and spread each slice with a 1/2 teaspoon of your spread.  (If you're  not into pesto, or garlic, or basil, or whatever, a tapenade would be amazing, or just your basic marinara sauce).  Sprinkle with the grated parmigiana cheese and bake for 10 - 15 minutes or until the cheese is a little bit melted.


If you can help it, arrange the grilled eggplant slices on a plate and serve with fresh sauce.  If you can't help it, try not to burn your fingers as you eat them right from the pan.  We ate them both ways in my house, and they taste just as good with or without the fancy presentation!


This makes for a healthy, affordable, and really satisfying dinner or appetizer for a crowd.  Buon Appetito!

Thursday, January 27, 2011

Roasted Butternut Squash Risotto

Risotto is a favorite dish in our house.  It is fairly easy to make, inexpensive to make a lot of and is a great alternative to pasta for a gluten free diet, and a vegetarian main course.

So risotto is one of those things where you can experiment a little bit with ingredients, as long as you follow the rules with timing.

Roasted Butternut Squash Risotto
Ingredients
1 Butternut Squash, chopped in 1-2" pieces
1 tbsp olive oil
Salt, Pepper, Paprika to taste

1 onion, chopped finely
3 carrots, chopped finely
3 stalks of celery, chopped finely
4 cups of Vegetable/Chicken Broth
1 1/2 cup of arborio rice
2 tbsp of butter
1/4 cup of white wine
1/2 cup grated Parmigiana
Salt and Pepper to taste


Peel and cut the butternut squash and put all chopped pieces in a colander and drizzle with olive oil and sprinkle of salt, pepper and paprika.  On a covered cookie sheet lay out the pieces of squash and bake in the oven for 35 minutes at 375 degrees.

Once the squash is in the oven, move onto the risotto.  In a separate sauce pan bring the vegetable/chicken stock to a boil.  

In a large sauce pan add 1/2 tbsp of butter to the pan and then add the finely chopped onion, carrots, and celery. Add salt and pepper to taste - just a pinch, because you'll continue to layer the flavors.

When the vegetables are softened add the rice to the pan on medium/low heat and let it saute until the pieces are translucent.  When the rice is translucent add the first ladle of stock.


Let the rice simmer in the broth, stirring frequently, until it is completely absorbed.  When the broth is absorbed add another ladle and continue the process of adding, stirring, absorbing until all of the stock is used up.   You'll notice that as the broth is being absorbed the rice with release it's natural starchiness and become creamy. 

After the last ladle, but before the broth is completely absorbed make a well in the rice and add a cup of the now roasted squash.  Using a potato masher (or a spoon), mash up the cup of squash and combine it with the risotto.  The mashed squash adds beautiful color and rich flavor.


Then add the rest of the squash, the remaining butter (in pieces) and the parmigiana cheese and gently stir all of the ingredients. 

This is a perfect winter weeknight dinner, enjoy the comfort of good food!


Tuesday, January 18, 2011

Italian French Toast

I consider myself a connoisseur of French Toast, and having said that I think the only way you can really make a good French Toast is with challah, brioche if you're fancy, egg bread if you're not.

It is very difficult to find a challah in DC that rivals Publix's challah, which is just as good since I have graduated to whole wheat bread, but when it comes to French Toast healthy just doesn't make sense. 

What do I substitute for challah?  Panettone.  Made in Italy, Panettone is a dome of rich egg bread studded with raisins, currants and sometimes bits of orange.  They are a traditional Italian Christmas treat and Panettone french toast has become a bit of a tradition for our family.  Because Panettone stays fresh (and delicious) for a very long time, the shelf life of this recipe last long after Christmas ends.

Panettone French Toast Ingredients
1 medium sized Panettone 
4 eggs
1/3 cup of skim milk
1 tsp of vanilla
1/2 tsp of almond extract
2 tsp of cinnamon
1/4 tbsp of butter for the pan
In a medium sized bowl whisk together the eggs and the milk and then add the extracts and the cinnamon.  Some people like lots of cinnamon, if you're one of those people, add more.


Slice your panettone across the dome and then cut those pieces in half - I do this to make it easier to manage in the pan, but it also helps with the portion control :)

Dip each piece of pannettone into the egg mixture so that each slice is completely covered.

In a non stick pan, or a griddle pan, cook the slices so that they are golden brown on both sides, about 2-3 minutes each.  Tip: use a flat, wide spatula to help maneuver the slices.  Because the bread has a softer texture than a wheat bread they can get  a bit flimsy in the batter.

Serve with your favorite jam, a sprinkle of cinnamon sugar, syrup or nothing at all.  Enjoy!  Buon Appetito!

Monday, November 8, 2010

Baked Eggplant Parmigiana

Eggplant Parmigiana is an all time favorite comfort food of mine, and a great vegetarian substitute for chicken parmigian and more filling than a similarly stacked lasagna.  The only downfall is that traditionally the eggplant has to be fried in oil before it is layered with delicious sauce and cheese.  Not so fast, it can also be baked which is healthier, takes up less "active" cooking time and doesn't leave your kitchen smelling like a fry house.

Eggplant Parmigiana Ingredients
1 Medium Italian Eggplant
2 Eggs
1/2 cup of All Purpose/Whole Wheat flour
1/3 cup of Italian style bread crumbs
1/3 cup of Panko bread crumbs
1/2 cup of Skim Milk Ricotta Cheese
1/4 cup grated Parmigiana
Salt and pepper to taste
Parsley/Italian seasoning

Set the oven to 350 degrees
Serves 6, or 4 very hungry eaters!


I cut the eggplant into coins about 1/4 of an inch thick and give them a light sprinkle of kosher salt.  Eggplant is full of water and the light sprinkle of salt helps them to release a bit of the moisture and and brings out the flavor.


At your work station set up a small bowl with two eggs, beaten, and a shallow dish with with the mixture of bread crumbs, grated cheese and few cracked of fresh ground pepper. 


Dip each coin of eggplant into the egg and then into the bread crumbs coating each slice on both sides.


With all of the prepared eggplant slice on a parchment covered baking sheet; bake in the 350 degree oven for 30 minutes.  After baking the eggplant will be softened, the edges browned and the bread crumbs crisp and golden.


While the eggplant is baking in a small bowl mix the ricotta cheese, some pepper, parsley, and Italian seasoning.  Now here is where the fun happens.  Grab a baking dish and your favorite sauce - if it came out of a jar, it's no big deal, I'm not telling anyone.  Spoon a thin layer of sauce on the base of the dish, add your first layer eggplant coins, another layer of sauce, and thin layer of ricotta cheese.  Repeat until you run out of eggplant.

On the top layer of eggplant add another layer of sauce, one more round of ricotta and some grated parmigiana. 


Look at those layers!  Where is the fork?

If you are preparing this on a Sunday for a Monday night dinner you can wrap this is tin-foil and keep in the refrigerator for a day.  If you're looking for a more instant satisfaction this can bake in the oven at 350 for 15 - 20 minutes, or until the cheese is melted on the top and the sauce is looking a little bubbly.


When you're ready to serve I like to portion out the stacks and serve with a fresh salad.  As they say in Italy, Buon Appetito!

Tuesday, October 26, 2010

Stuffed Mushrooms for Last Minute Appetizers

Stuffed Mushrooms are the kind of appetizer that takes no time to make, you're likely to have all of the ingredients in your refrigerator and pantry, and they are delightful bite full of flavor.

Stuffed Mushrooms Ingredients:
15 medium Baby Bella Mushrooms (a whole container)
2 tbsps of Olive Oil
1/3 cup of Italian Bread Crumbs
1 tbsp of Skim Ricotta Cheese
2 tbsps grated parmesean
2 tsps of italian seasoning
Dash of Red Pepper Flakes
Salt and Pepper to taste
Add chopped basil, or parsley, chopped garlic


First rinse and rub all of the mushrooms and let them dry.  Remove all of the stems and reserve.  Take the stems and chop them to a small chop.  

In a small bowl add all of the seasonings, cheese, bread crumbs and olive oil.  Add to that the chopped mushrooms.


With a fork mix all of the ingredients.  This recipe is sort of the exact opposite of baking; you can swap out other ingredients, you can change the seasoning, want more spice, less spice, no cheese, more veggies, this is a great clean out the pantry in a flash recipe.


Prepare the oven to 400 degrees and put parchment paper on a cookie sheet.  Turn the mushrooms cavity down and lightly oil the outside of the mushrooms, and sprinkle to taste with salt and pepper.  With a small spoon, or of course your fingers, stuff the mushrooms to the top.


Bake for twenty minutes.  Allow to cool, just long enough so that when you pop an entire mushroom in your mouth and it's not so hot that you have to do that "it's too hot" dance.  Enjoy!

Thursday, October 14, 2010

Roasted Vegetable Sauce for an Easy Weeknight

Weeknight dinners are always a little bit tricky; I want something healthy, good tasting, fairly quick and comforting.  So last night was an opportunity for some easy, hearty and full of vegetables sauce.

Roasted Vegetable Sauce
Ingredients:
2 cups Chopped Cherry Tomatoes
2 medium Zucchini
1 medium Eggplant
Salt and Pepper
Dash of Olive Oil
Splash of Balsamic Vinegar
Garlic
Basil
Pepperoncino
1 tbsp Skim Ricotta Cheee

**I really like zucchini and eggplant and so we nearly always have some variety on hand.  If you are not a fan of one you could always do without or swap in a different vegetable.  If you don't like either you'll just be eating tomatoes and cheese, which come to think of it isn't so bad either.


 Chop the zucchini and eggplant into rounds about a centimeter thick.  Cut the zucchini in half lengthwise, and then cut the eggplant into smaller chunks.  Combine the chopped zucchini and eggplant with the chopped tomatoes in a large bowl.  Add to the bowl a drizzle of olive oil, a splash of vinegar, salt, pepper, and some diced garlic.  Mix all of this up, so that flecks of oil and vinegar touch everything.


On a cookie sheet lay out a piece of parchment paper and pour out all of the vegetables.  Place the sheet in a 400 degree oven for 35 minutes.  If by chance the OnDemand Yoga video, or self applied manicure is taking longer, you can let these roast for up to 45 minutes - you just don't want the vegetables to be burned.

On the stove top set up a large sauce pan with some olive oil, chopped onion, garlic and basil over low heat.  At the same time start boiling water for your pasta. 

Now, I need to share a secret with you.  I rarely keep fresh garlic on hand at home.  This is probably shocking but in our old apartment we'd have heads of garlic and we'd lose them, and then they'd dry out and it was a waste.  Then we discovered the frozen crushed garlic and basil at Trader Joe's.  They are perfect in a pinch, and hopefully there is a Trader Joe's somewhere within reach.  To my Florida readers; perhaps I'll bring you some on the next visit!


When the onions are translucent add the roasted vegetables to the saucepan.  Pour in two ladles of pasta water, and stir vigorously.  


You can keep it chunky, and stop here.  I wanted a more saucy sauce so I used my immersion blender for a few quick pulses and then added a spoonful of ricotta cheese for an smoother taste.  I paired this with a favorite pasta in the pantry, but I think I would also love this on crusty, warm bread as a bruschetta topping, or as a dip with pita.  The whole prep from beginning to end took about 45 minutes; and the bulk of that was inactive cooking time while the vegetables were roasting.  Not too bad for a healthy, well balanced dinner, ever better for a weeknight!

Buon Appetito!

Friday, August 6, 2010

Pizza Party

The weekend is usually a great time for a pizza party, this week in our house a Tuesday was also a great time for such an event.  Our friends were coming over and we wanted to have a dinner that was fun to put together, easy to prepare in advance and a favorite for everyone.  Pizza was the winner.

I have made pizza with my mother-in-law, but mainly the sauce and into the oven stage, never the dough stage.  She is currently in Italy, had she been in town I would have used her recipe, but I made to with what was called the "Best Pizza Dough Ever" Recipe by Peter Reinhardt.

Ingredients:
4 1/2 cups all-purpose flour, chilled
1 3/4 teaspoons salt
1 teaspoon instant yeast
1/4 cup olive oil
1 3/4 cups water, ice cold
Semolina flour OR cornmeal for dusting 

The ingredients are simple, and what is easy more simple is how to do it.

Mix all the dry ingredients (flour, salt, yeast) in one bowl and then add the olive oil and water, and get to mixing with a large chilled metal spoon.

I could have used my stand mixer for this recipe, and so can you, but I figured for the first time I wanted to know what it felt like.  After about 5-7 minutes of turning the bowl and working the dough it should be "tacky" not "sticky" and able to peeled from the sides of the bowl, but not so much the bottom.  If it's too dry, add a teaspoon of water, if it's too sticky add a little more flour - but this is something you can just judge by your eye.

Pour some flour out onto the counter top and just gently work the dough is a soft, smooth ball, and then divide into six just about even chunks.

Mist the dough balls with olive oil, or like me put oil on your hands and then drizzle onto the dough.  The original recipe calls for putting the dough on parchment paper, which I don't have, misting the parchment paper, and then wrapping it with a food safe bag. I put some semolina flour on the pan and covered it with a tea towel - I think our results were the same.

Two days later...

Time to get cooking on a Tuesday night!  The dough has grown and now the question is how to top it.
I have a pizza stone in the oven preheating to 450 degrees for 45 minutes.

Our toppings included:
Grilled peppers
Grilled chicken sausage
Sauteed mushrooms
Oven dried tomatoes
Homemade Tomato Sauce
Truffle Salt
Fresh Basil
Parmigiano Reggiano
Mozzarella


I rolled out the dough to about 1/4 of an inch in an uneven pattern - no need to strive for perfection here.

And then I kept the toppings simple, the thin dough doesn't really want to be weighted down with a lot of heavy toppings.  And then, we ate - and it was delicious!